From Photo To Realistic 3D Model In Blender, 3H, Step-By-Step Tutorial
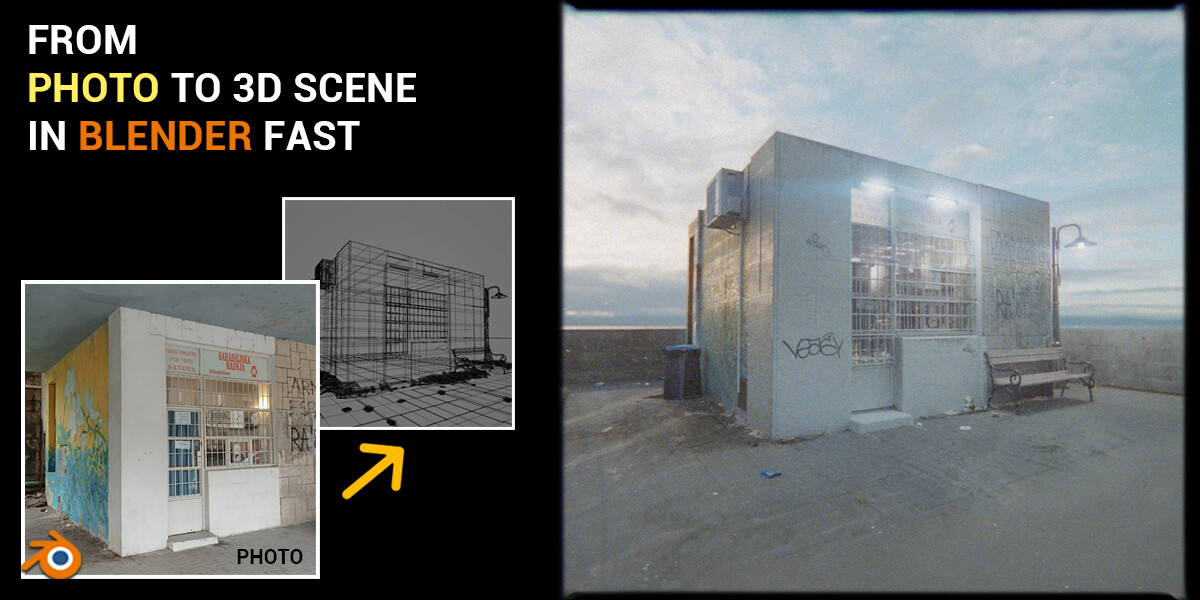

One of the most common tips for creating photorealistic scenes is to use high-quality PBR textures, which are mostly not free, but is this the best way? Using multiple textures photographed in different locations under different lighting conditions can result in a lot of work and an unrealistic result if the textures don't match well with each other.
In this tutorial, we will use a photo I took with my mobile phone on the street at a bad angle in collage with concrete texture, plus one free Photo from Unsplash.com for the interior and try to turn it into a realistic 3D object and scene. With these limited resources of only two photos, we will create this scene from start to finish in just 3 hours.
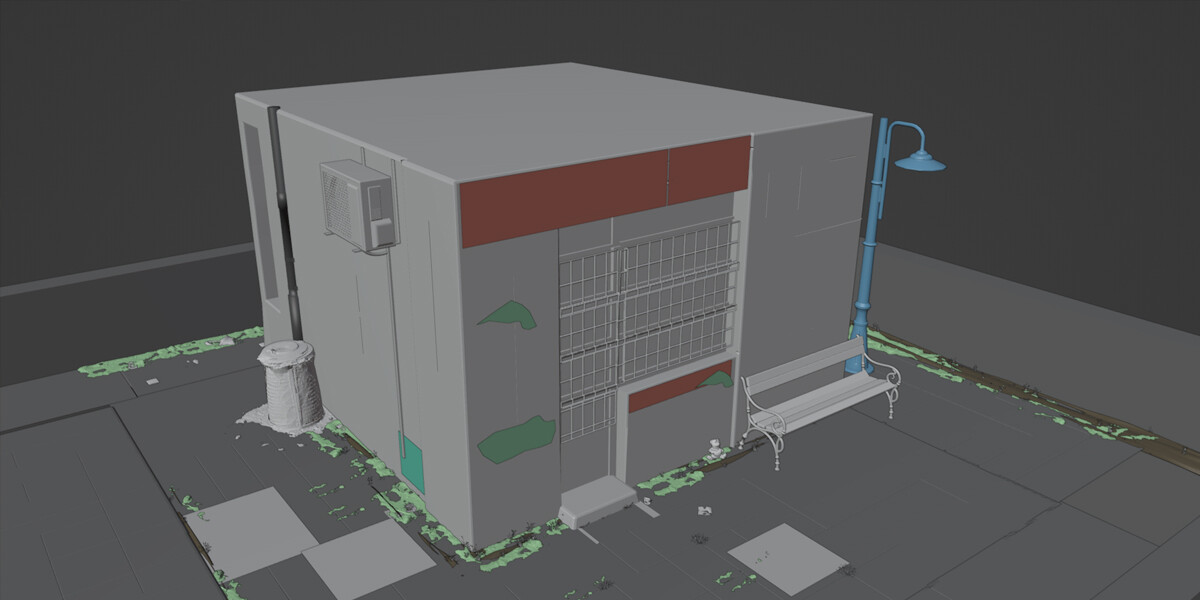
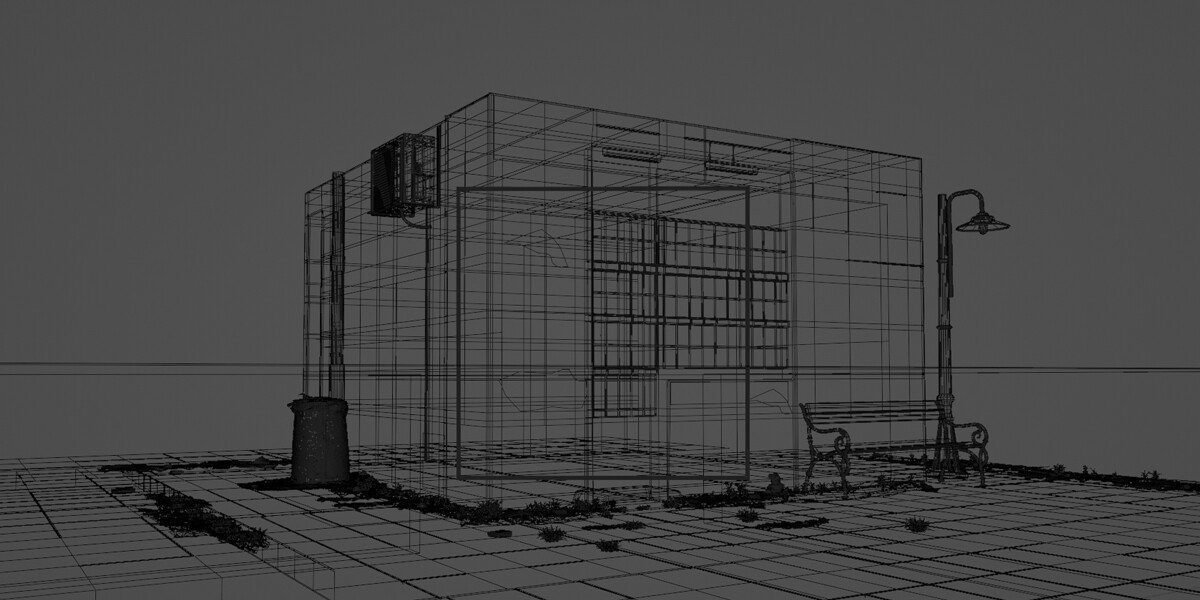
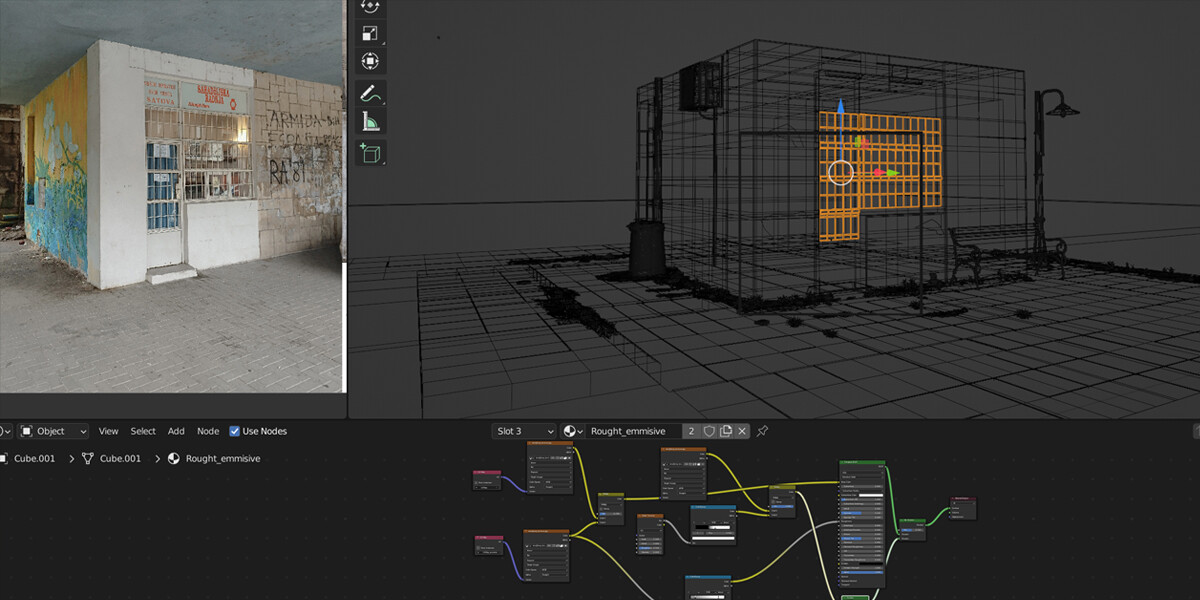
With this method, you can turn any photo into a realistic 3D model quickly and easily in Blender. We will talk about modeling, unwrapping, creating realistic materials, lighting, post-processing, and more. The tutorial is also suitable for beginners.
Language: English + subtitles
Duration: 3 hours
Video resolution of the tutorial: 2k
All resources and the final .blend file are included